- TL;DR
- Need Help Troubleshooting Your Beretta 92?
- Why reassemble a Beretta 92FS frame?
- What tools do you need to reassemble a Beretta 92FS frame?
- How do you reassemble the Beretta 92 magazine catch?
- How do you install the Beretta 92 magazine release assembly?
- How do you install the Beretta 92 ejector?
- How do you install the hammer release and firing pin block lever?
- How do you install the Beretta 92 sear?
- How do you install the Beretta 92 hammer and hammer strut?
- How do you install the Beretta 92 main spring?
- How do you install the Beretta 92 trigger and trigger bar?
- How do you install the Beretta 92 slide stop?
- How do you install the Beretta 92 disassembly latch?
- How do you install the Beretta 92 grips?
- FAQ – Beretta 92FS Frame Reassembly
- Content Use & Compliance
- Affiliate Disclaimer
- Firearm Safety Notice

This page may contain affiliate links. If you click and buy, I may earn a small commission at no extra cost to you. Your purchase using affiliate links helps support the creation of independent content.
Prefer reading or need assistive support? Click here for the full slide reassembly transcript (.VTT).
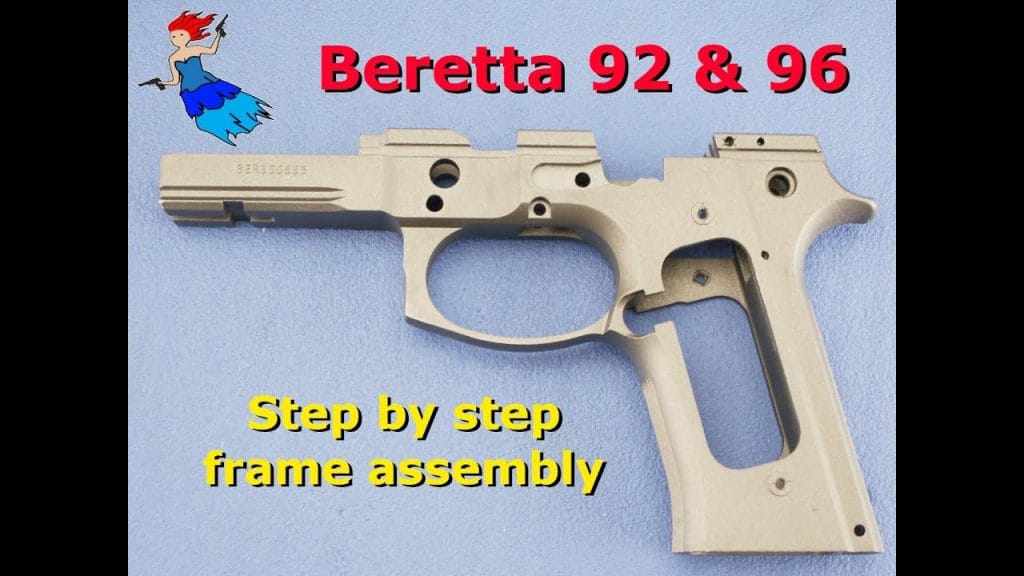
Reassemble a Beretta 92FS frame without guesswork. Whether you’re finishing a deep clean, doing a repair, or rebuilding after Cerakote—this step-by-step guide covers every part in order. Works for the Beretta M9A1 and Beretta 96 too.
TL;DR
Complete guide to reassemble a Beretta 92FS frame
Works for the M9A1 and Beretta 96—same internals
Covers magazine release, sear, hammer, mainspring, and more
Timestamps match each step in the video
Requires minimal tools—1/16” punch, pick, and patience
Ideal for full rebuilds, troubleshooting, or post-Cerakote work
Need Help Troubleshooting Your Beretta 92?
Slide won’t cycle? Trigger acting weird? Safety out of alignment?
🛠️ Check the Beretta 92/96/M9 Troubleshooting Guide
Step-by-step fixes for common issues on the 92FS, M9A1, and Beretta 96—slide or frame.
Why reassemble a Beretta 92FS frame?
Frame reassembly comes after deep cleaning, repair, or refinishing.
It’s critical to follow the right order—misalignments or missed springs can jam up the action fast.
What tools do you need to reassemble a Beretta 92FS frame?
✅ 1/16” punch
✅ Pick tool
✅ Bench block (optional, but helpful)
✅ Small flathead screwdriver (for springs and plates)
✅ Tweezers or needle-nose pliers (for tight spots)
How do you reassemble the Beretta 92 magazine catch?
Video Timestamp: 0:41
Insert the mag catch spring into the frame
Slide in the catch with notch aligned
Use a punch or pick to compress the spring while snapping in the release button
How do you install the Beretta 92 magazine release assembly?
Video Timestamp: 1:59
Position the magazine release spring and retainer
Drop the release in place and press forward
Make sure it clicks and rebounds under tension
How do you install the Beretta 92 ejector?
Video Timestamp: 3:15
Align the ejector tab into the rear of the frame
Press downward while seating the pin
Ensure it’s flush and doesn’t bind
How do you install the hammer release and firing pin block lever?
Video Timestamp: 4:30
Set the hammer release into the slot
Use a pick to align the holes for the lever
Seat the firing pin block lever into place and check for movement
How do you install the Beretta 92 sear?
Video Timestamp: 6:25
Drop the sear spring into position
Align the sear on its pivot point
Compress the spring while securing the pin
How do you install the Beretta 92 hammer and hammer strut?
Video Timestamp: 8:49
Insert the hammer strut into the hammer
Align both onto the frame and insert the pivot pin
Check for free hammer swing and spring alignment
How do you install the Beretta 92 main spring?
Video Timestamp: 10:14
Place the mainspring onto the hammer strut
Align the mainspring cap and press it down
Seat the pin to retain spring tension
How do you install the Beretta 92 trigger and trigger bar?
Video Timestamp: 11:36
Slide the trigger into the frame cutout
Attach the trigger bar to the pin
Check for smooth return and engagement
How do you install the Beretta 92 slide stop?
Video Timestamp: 14:47
Drop the slide stop into the notch
Align the spring and detent
Check for upward tension and full reset
How do you install the Beretta 92 disassembly latch?
Video Timestamp: 16:12
Insert the latch lever into the frame
Align the detent and rotate into place
Verify lockup position and rotation stop
How do you install the Beretta 92 grips?
Video Timestamp: 17:36
Align each grip panel with screw holes
Start screws by hand to avoid cross-threading
Snug down firmly—don’t overtighten
FAQ – Beretta 92FS Frame Reassembly
Does this work for the M9A1 and Beretta 96?
Yes. The internal parts and frame layout are the same.
What’s the hardest part of reassembly?
Aligning the sear spring or hammer release lever. Go slow and use a pick tool.
Can I install the mainspring before the hammer?
No. The hammer and strut must be in first to tension the spring.
What if something binds after reassembly?
Disassemble and inspect each part. Most issues come from springs installed backward or pin misalignment.
What if I’ve never worked on a frame before?
Follow each step slowly. The video helps you double-check before moving on.
• How to Disassemble a Beretta 92FS Slide – Step-by-Step Guide
• How to Reassemble a Beretta 92FS Slide – Step-by-Step
• How to Disassemble a Beretta 92FS Frame – Step-by-Step Guide
• How to Reassemble a Beretta 92FS Frame – Step-by-Step Guide
• Beretta 92/96/M9 Troubleshooting Guide – Fix Common Issues Fast
Covers full slide and frame teardown, reassembly, and troubleshooting for the 92FS, M9A1, and Beretta 96. Everything needed to fix, clean, and rebuild with confidence.
Join The Rogue Nation!
Stay in the Loop with Real-World Gun Maintenance
No spam. Just proven firearm maintenance tips, gear reviews, and DIY builds, straight from a former gunsmith and 2A educator.
You’ll get:
DIY gunsmithing insights backed by experience
Behind-the-scenes builds from The Rogue Banshee
First access to new disassembly & troubleshooting guides
Tools and fixes that actually work
Support & Resources:
Love what I do here? Here’s how to support the mission and gear up::
• Shop Tools & Parts: trb.fyi/az
• TRB Merch: trb.fyi/merch
• YouTube Members Perks: trb.fyi/ytmembers
• All Resources in One Place: link.trb.fyi
Credits and Socials:
Connect with Me:
Follow for tools, tips, and teardown walk-throughs:
• Instagram – Behind-the-scenes shop content
• Facebook – Community posts & guide drops
• Twitter – Quick rants, 2A news, and hot takes
• Website – Full archive of all TRB content
Credits:
Original Content by The Rogue Banshee / My Rogue Solutions LLC.
Credit: Jason Schaller
Email: jschaller@trb.fyi
About the Author: Jason Schaller is a former FFL holder and founder of Eagle Eye Shooters Supply in Helena, MT, where he provided professional gunsmithing services and guided customers on all aspects of firearms ownership. Today, he teaches DIY gunsmithing at The Rogue Banshee and serves as a Chief Instructor at Freedom Crew University. With over a decade of hands-on professional experience with firearms and nearly 30 years in IT, Jason also holds top cybersecurity certifications including CISSP, CISA, and CRISC. When he’s not geeking out, he’s helping others build self-reliance, critical thinking, and firearms proficiency through real-world content.
Disclaimers:
Content Use & Compliance
The videos, articles, and images shared by The Rogue Banshee feature gear, tools, and products for informational and entertainment purposes only. All activities follow local, state, and federal laws where they were conducted in. All activities are conducted safely under professional supervision in approved locations.
Affiliate Disclaimer
Some links are affiliate-based. No extra cost to you, but they help support the work we do her when you purchase though them. Best of all, you support the content you want to see, hear and read with nothing out of your pocket.
Firearm Safety Notice
I promote safe and responsible firearm ownership. All activities are conducted in a controlled, professional environment.