- Full Step-by-Step Dan Wesson 44 Disassembly, Cleaning, and Reassembly Guide
- Jump Links
- Safety and bench setup
- Tools and supplies
- Step 1: Initial barrel inspection
- Step 2: Diagnose the barrel nut problem
- Step 3: Build the custom barrel tool
- Step 4: Remove barrel and shroud
- Step 5: Front sight removal
- Step 6: Grip removal
- Step 7: Capture the mainspring
- Step 8: Rear sight disassembly
- Step 9: Hammer removal
- Step 10: Trigger guard and trigger removal
- Step 11: Crane and cylinder disassembly
- Step 12: Frame internals removal
- Step 13: Ultrasonic cleaning
- Reassembly overview
- Step 14: Frame reassembly
- Step 15: Crane and cylinder reassembly
- Step 16: Trigger group reassembly
- Step 17: Hammer installation
- Step 18: Rear sight reassembly
- Step 19: Grip install
- Step 20: Barrel gap, shroud, and barrel nut
- Step 21: Final cleaning and range prep
- FAQ
- What is the correct Dan Wesson barrel-to-cylinder gap?
- What if the barrel nut is damaged or rounded?
- Do I have to use an ultrasonic cleaner?
- Could a cylinder drag line be from someone spinning the cylinder?
- What should I check after reassembly before live fire?
- Related deep cleaning guides
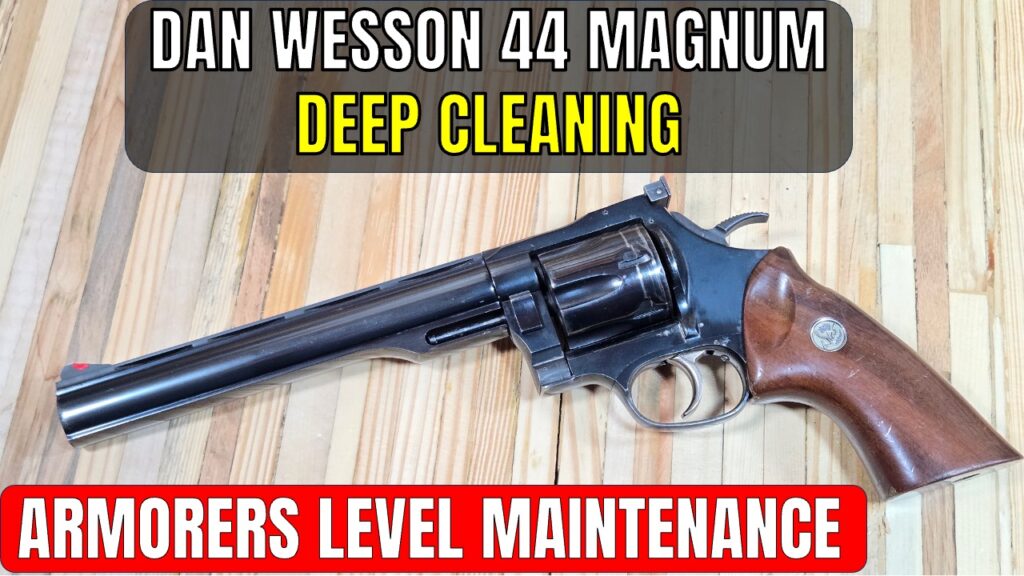
Full Step-by-Step Dan Wesson 44 Disassembly, Cleaning, and Reassembly Guide
This Dan Wesson 44 Magnum came from the same estate sale as the Glock 29 deep cleaning. It rode hard in Montana backcountry and it shows. The barrel nut alone tells you this revolver lived a life.
This guide is written like a bench manual. Not a transcript.
You can follow it with the video or use it standalone.
Jump Links
- Safety and bench setup
- Tools and supplies
- Step 1: Initial barrel inspection
- Step 2: Diagnose the barrel nut problem
- Step 3: Build the custom barrel tool
- Step 4: Remove barrel and shroud
- Step 5: Front sight removal
- Step 6: Grip removal
- Step 7: Capture the mainspring
- Step 8: Rear sight disassembly
- Step 9: Hammer removal
- Step 10: Trigger guard and trigger removal
- Step 11: Crane and cylinder disassembly
- Step 12: Frame internals removal
- Step 13: Ultrasonic cleaning
- Reassembly overview
- Step 14: Frame reassembly
- Step 15: Crane and cylinder reassembly
- Step 16: Trigger group reassembly
- Step 17: Hammer installation
- Step 18: Rear sight reassembly
- Step 19: Grip install
- Step 20: Barrel gap, shroud, and barrel nut
- Step 21: Final cleaning and range prep
- FAQ
- Related deep cleaning guides
Safety and bench setup
Video: https://youtu.be/7hEL7NUBXSw?t=44
- Verify unloaded
- Remove all ammo from the area
- Eye protection on
- Parts tray ready
- Good lighting, no clutter
Tools and supplies
Video: https://youtu.be/7hEL7NUBXSw?t=54
You’ll need:
- Punches and roll pin punches
- Hex and Allen bits
- Feeler gauge (0.006 inch)
- Dan Wesson barrel nut wrench
- Bore cleaning cable or rod, brushes, patches
- Ultrasonic cleaner (recommended)
- Controlled heat source
Affiliate resources (listed once, like a normal manual):
- Fix It Sticks kits and punches: https://trb.fyi/fis
- Otis rods, brushes, patches: https://trb.fyi/otis
- Aegis cleaner and lube: https://trb.fyi/boomlube (Use code boomlube for 10% off)
Step 1: Initial barrel inspection
Video: https://youtu.be/7hEL7NUBXSw?t=73
Goal: confirm the barrel is worth your time.
- Inspect the bore visually
- Run a brush to loosen fouling
- Patch until you can see the bore surface
- Expect lead fouling on estate revolvers
Stop if you see cracks or deep pitting that looks structural.
Step 2: Diagnose the barrel nut problem
Video: https://youtu.be/7hEL7NUBXSw?t=118
Normal Dan Wesson barrel system:
- Remove barrel nut
- Slide shroud off
- Unthread barrel
If the nut is damaged, rounded, or seized:
- Shift focus to the barrel-to-frame threads
- Work penetrating lubricant into the junction from the chamber side
- Let it soak
Step 3: Build the custom barrel tool
Video: https://youtu.be/7hEL7NUBXSw?t=173
This tool lets you spin the barrel out from inside the shroud.
- 3/8-16 x 9 inch bolt
- Washer
- Copper washer trimmed to fit
- Electrical tape to protect bore
- Double-nut the rear so nothing slips
Key detail: trim the copper washer so it spins with the barrel and does not bind the shroud.
Step 4: Remove barrel and shroud
Video: https://youtu.be/7hEL7NUBXSw?t=244
Prerequisite: Revolver unloaded. Barrel junction soaked as needed.
- Apply heat to the frame, not the barrel
- Use the internal tool to start the barrel moving
- Once it breaks free, run it out steadily
- If the shroud sticks, use light tapping to free it
- Remove shroud, then remove barrel
Inspect barrel threads and frame threads. Clean thread debris before reassembly.
Step 5: Front sight removal
Video: https://youtu.be/7hEL7NUBXSw?t=324
- Use the 0.050 Allen bit
- Loosen screw
- Rock sight rearward and lift out
- Inspect for rust underneath
Step 6: Grip removal
Video: https://youtu.be/7hEL7NUBXSw?t=361
- Use the 5/32 bit
- Remove grip screw
- Slide grip off tang
Step 7: Capture the mainspring
Video: https://youtu.be/7hEL7NUBXSw?t=383
- Use the 5/64 bit to remove the mainspring retaining screw
- Cock the hammer
- Thread the screw into the mainspring guide to capture the spring
Step 8: Rear sight disassembly
Video: https://youtu.be/7hEL7NUBXSw?t=414
- Drive out the roll pin above the cylinder using a 1/16 roll pin punch
- Hold the sight down since springs are underneath
- Remove the flathead elevation screw
- Remove springs
- Remove the blade (0.050 bit). Tap lightly as needed
Step 9: Hammer removal
Video: https://youtu.be/7hEL7NUBXSw?t=508
- Drive hammer pivot pin with a 9/64 brass punch
- Hold trigger back
- Rock hammer out
Then disassemble hammer:
- Drive strut pivot pin with 1/16 punch
- Remove strut, plunger, spring
Step 10: Trigger guard and trigger removal
Video: https://youtu.be/7hEL7NUBXSw?t=585
- Depress trigger assembly latch using a 3/16 brass punch
- Rock trigger guard forward and remove
- Control the hand, connector, and small spring
- Remove latch and spring (1/16 roll pin punch)
- Drive trigger pivot pin (3/32 punch)
- Remove trigger and trigger return spring and guide
Step 11: Crane and cylinder disassembly
Video: https://youtu.be/7hEL7NUBXSw?t=666
Prerequisite: Trigger guard removed.
- Remove crane lock
- Unscrew ejector rod
- Remove extractor
- Remove crane
- Remove bolt plunger and spring
- Separate cylinder from crane
- Remove ejector rod bushing and spring
- Remove crane latch retaining screw with 0.050 bit
- Remove latch and latch spring
Step 12: Frame internals removal
Video: https://youtu.be/7hEL7NUBXSw?t=773
Cylinder alignment ball:
- Remove screw
- Remove spring
- Remove ball
Firing pin removal (cylinder open): https://youtu.be/7hEL7NUBXSw?t=802
- Drive out firing pin retaining pin (1/16 punch)
- Drive firing pin out from the rear (9/64 punch)
- Remove bushing
Mainspring removal: https://youtu.be/7hEL7NUBXSw?t=835
- Remove mainspring retaining screw (5/64 bit)
- Control mainspring guide with pliers
- Remove guide and mainspring carefully
Step 13: Ultrasonic cleaning
Video: https://youtu.be/7hEL7NUBXSw?t=870
- Clean frame and components
- Dry thoroughly, especially holes and channels
- Protect metal immediately with light lubrication
Reassembly overview
Follow the same system order:
- Frame internals
- Crane and cylinder
- Trigger group
- Hammer
- Sights
- Grip
- Barrel, gap, shroud, nut
- Final clean and function check
Step 14: Frame reassembly
Video: https://youtu.be/7hEL7NUBXSw?t=912
Cylinder alignment ball:
- Ball first
- Larger spring next
- Screw flush
- Verify free movement
Firing pin installation: https://youtu.be/7hEL7NUBXSw?t=955
- Install firing pin
- Install spring
- Install bushing with relief cut up
- Install retaining pin
Mainspring installation: https://youtu.be/7hEL7NUBXSw?t=1006
- Insert mainspring
- Insert guide with hole side down
- Compress and install retaining screw
Step 15: Crane and cylinder reassembly
Video: https://youtu.be/7hEL7NUBXSw?t=1044
- Install crane latch spring and latch
- Install latch retaining screw
- Install ejector rod bushing and spring in correct orientation
- Install cylinder
- Align extractor tabs and install extractor
- Install ejector rod
- Install bolt plunger and spring
- Install bolt into frame
- Install crane and crane lock
Step 16: Trigger group reassembly
Video: https://youtu.be/7hEL7NUBXSw?t=1408
- Install trigger return spring on guide
- Seat guide correctly in trigger guard
- Use punch to hold alignment, then replace with pivot pin
- Install trigger assembly latch spring and latch
- Install roll pin
- Assemble hand, connector, and spring
- Use a rubber band to hold parts during trigger guard install
- Seat trigger guard and lock it with the latch
Step 17: Hammer installation
Video: https://youtu.be/7hEL7NUBXSw?t=1485
- Assemble strut plunger and spring
- Install into hammer
- Install strut and pivot pin
- Install hammer into frame while controlling trigger position
- Install pivot pin
- Release captured mainspring and return screw to frame
Step 18: Rear sight reassembly
Video: https://youtu.be/7hEL7NUBXSw?t=1529
- Reinstall detent and spring
- Install blade and retaining screw
- Use grease to hold elevation springs in place
- Pre-start roll pin, align holes, drive pin flush
- Install elevation screw
You will re-zero at the range.
Step 19: Grip install
Video: https://youtu.be/7hEL7NUBXSw?t=1661
- Slide grip onto tang
- Install grip screw
- Dry fire while tightening so you don’t bind the mainspring
Step 20: Barrel gap, shroud, and barrel nut
Video: https://youtu.be/7hEL7NUBXSw?t=1718
- Install front sight on shroud
- Thread barrel into frame most of the way
- Set barrel-to-cylinder gap with a 0.006 feeler gauge
- Install shroud onto frame pin with no gap at the frame
- Install barrel nut carefully to avoid cross-threading
- Snug barrel nut with the correct wrench
Step 21: Final cleaning and range prep
Video: https://youtu.be/7hEL7NUBXSw?t=1779
- Brush bore
- Patch until clean
- Light oil pass through bore
- Wipe exterior
- Bore sight so you land on paper at the range
FAQ
What is the correct Dan Wesson barrel-to-cylinder gap?
This guide uses 0.006 inch with a feeler gauge during barrel setup. https://youtu.be/7hEL7NUBXSw?t=1718.
What if the barrel nut is damaged or rounded?
Use penetrating lubricant, soak time, and the correct barrel nut wrench. If the nut is compromised, replace it.
Do I have to use an ultrasonic cleaner?
No. It saves time and reaches tight areas. If you skip it, plan for more manual scrubbing.
Could a cylinder drag line be from someone spinning the cylinder?
Yes. A drag line can happen from normal operation. Aggressive spinning can make it worse. Check lockup and timing consistency.
What should I check after reassembly before live fire?
- Cylinder opens and closes smoothly
- Lockup feels consistent
- Trigger resets correctly
- Firing pin movement feels normal
- Barrel gap is correct
Related deep cleaning guides
- Glock 29 deep cleaning and reassembly: https://trb.fyi/how-to-disassemble-and-reassemble-a-glock-29-full-step-by-step-breakdown/
- Glock 43 disassembly and reassembly: https://trb.fyi/how-to-disassemble-and-reassemble-a-glock-43-step-by-step-full-breakdown/
- Dan Wesson Model 15-2 deep cleaning: https://trb.fyi/step-by-step-how-to-deep-clean-and-maintain-your-dan-wesson-model-15-2/
