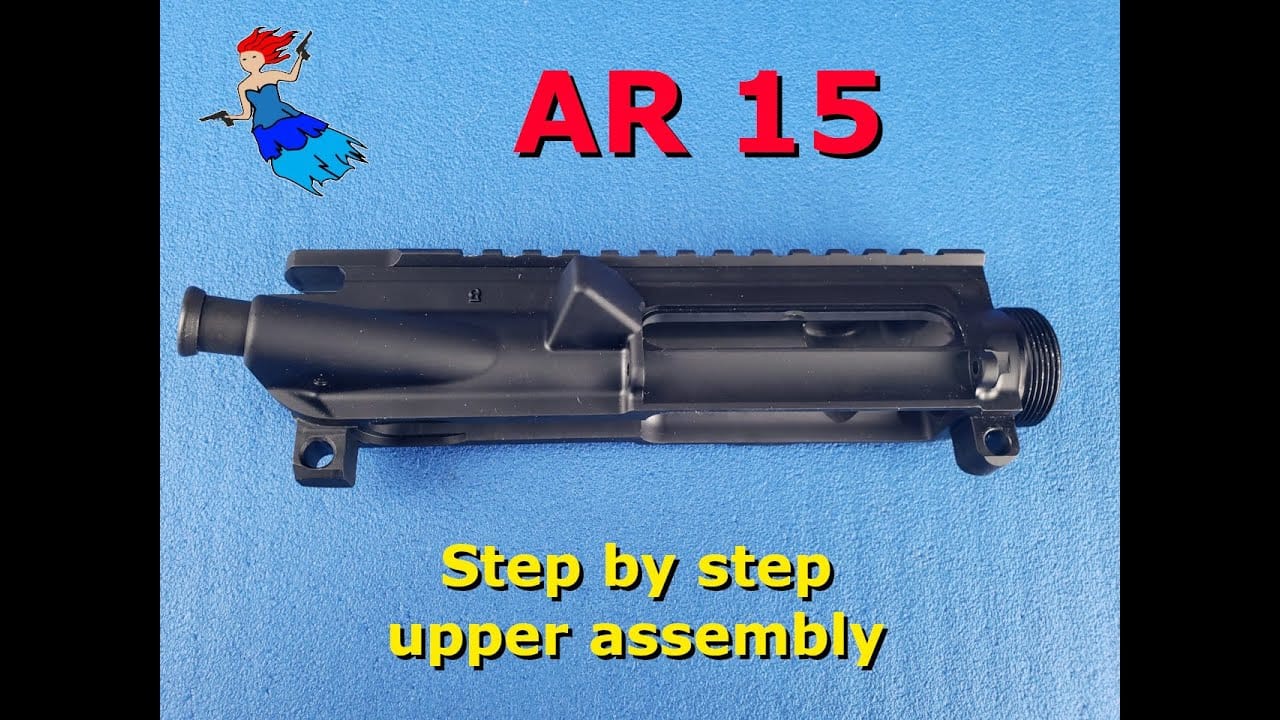
STEP BY STEP AR-15 UPPER ASSEMBLY: How to build an AR 15 upper receiver
This page may contain affiliate links. If you click and buy, I may earn a small commission at no extra cost to you. Your purchase using affiliate links helps support the creation of independent content.
Detailed AR-15 Upper Assembly tutorial image from The Rogue Banshee’s complete build guide.
This page may contain affiliate links. If you click and buy, I may earn a small commission at no extra cost to you. Your purchase using affiliate links helps support the creation of independent content.
Jason Schaller
AR-15 upper assembly doesn’t have to be complicated. Whether it’s your first build or just your first time doing it right, this step-by-step guide shows exactly how to assemble an AR-15 upper receiver from start to finish. Every tool, every part, every mistake to avoid—laid out clean and simple.
TL;DR – Full AR-15 Upper Assembly Checklist
Start with the forward assist and dust cover before barrel install
Grease matters: use white lithium on barrel extension and threads
Barrel nut torque: 30 ft-lbs ×3, final align under 80 ft-lbs
Align gas tube slot carefully or your BCG will bind
Handguard and carry handle go on last to finish the build
Insight: A properly seated forward assist should move freely but return firmly under spring tension.
How to install the AR-15 dust cover
Orient spring and pin correctly
Clip side of pin faces forward
Slide spring and door into place
Twist spring clockwise to tension
Push pin through while aligned
TIP: Use a pencil to pop the cover open. It should snap fully. If not, recheck spring twist.
How to assemble the AR-15 barrel nut assembly
Stack slip ring, spring, and snap ring onto barrel nut
Use snap ring pliers for the retaining ring
Align all three grooves so spring hole and snap ring slot match
Tip: Misaligned rings will block the gas tube and prevent proper torque alignment.
How to install the AR-15 barrel
Grease barrel extension and threads (white lithium)
Insert barrel into upper; align locating pin
Thread barrel nut by hand
Torque to 30 ft-lbs ×3 using armorer’s wrench
Back off and repeat for seating
SPEC: Final torque must not exceed 80 ft-lbs. Stop when gas tube slot lines up.
How to install the AR-15 gas tube and gas block
Align barrel nut so gas tube can pass through
Torque final setting to no more than 80 ft-lbs
Install gas tube, handguard cap, and FSB
Hammer in taper pins (right to left)
Align and pin gas tube
TECH: Gas tube should drop below the centerline. Taper pins must only go in from the right side.
How to install the AR-15 flash hider
Apply crush washer or peel washer
Thread flash hider on by hand
Torque until properly timed (ports up)
Manual Note: Only use 1/4 turn past hand-tight to time correctly.
How to install the AR-15 bolt carrier group
Insert charging handle first
Slide in BCG behind it
Make sure both lock into place
How to install the AR-15 upper onto the lower
Align pivot and takedown pins
Push pins through until seated
Function check upper/lower fit
How to install the AR-15 handguards
Compress delta ring
Insert front of handguards into cap
Seat rear under delta ring, release
How to install the AR-15 carry handle
Align with rear pic rail
Tighten thumb screws evenly
Confirm zeroing or co-witness height
Every time I build an upper, the one thing I still have to stop and double-check is the dust cover spring. That clockwise twist for tension trips me up more than anything else. I’ve learned to test the flip before I seat the pin — saves time and frustration every single time.
Jason Schaller
FAQ – AR-15 Upper Receiver Assembly
What torque should you use on the barrel nut? Start with 30 ft-lbs ×3, then increase gradually to align the gas tube slot — never exceed 80 ft-lbs.
Do you need to grease the barrel extension? Yes. White lithium grease helps prevent galling and ensures smooth seating.
What if the gas tube doesn’t align? Back off the barrel nut slightly, realign the retaining ring, then torque again.
Do you need a vise to build an upper? Yes. Trying to torque without one risks damaging threads or alignment.
Should the forward assist be tight or loose? It should move freely under spring tension without binding.
Covers field stripping, upper teardown, lower teardown, lower assembly, and full upper builds—everything needed to break down and rebuild your rifle the right way.
Follow for tools, tips, and teardown walk-throughs:
• Instagram – Behind-the-scenes shop content • Facebook – Community posts & guide drops • Twitter – Quick rants, 2A news, and hot takes • Website – Full archive of all TRB content
Credits:
Original Content by The Rogue Banshee / My Rogue Solutions LLC. Credit: Jason Schaller Email: jschaller@trb.fyi
About the Author: Jason Schaller is a former FFL holder and founder of Eagle Eye Shooters Supply in Helena, MT, where he provided professional gunsmithing services and guided customers on all aspects of firearms ownership. Today, he teaches DIY gunsmithing at The Rogue Banshee and serves as a Chief Instructor at Freedom Crew University. With over a decade of hands-on professional experience with firearms and nearly 30 years in IT, Jason also holds top cybersecurity certifications including CISSP, CISA, and CRISC. When he’s not geeking out, he’s helping others build self-reliance, critical thinking, and firearms proficiency through real-world content.
Disclaimers:
Content Use & Compliance
The videos, articles, and images shared by The Rogue Banshee feature gear, tools, and products for informational and entertainment purposes only. All activities follow local, state, and federal laws where they were conducted in. All activities are conducted safely under professional supervision in approved locations.
Affiliate Disclaimer
Some links are affiliate-based. No extra cost to you, but they help support the work we do her when you purchase though them. Best of all, you support the content you want to see, hear and read with nothing out of your pocket.
Firearm Safety Notice
I promote safe and responsible firearm ownership. All activities are conducted in a controlled, professional environment.
Complete step-by-step guide to deep clean a Dan Wesson .44 Magnum revolver. Covers disassembly, ultrasonic cleaning, barrel-to-cylinder gap measurement with 0.006 inch feeler gauge, and full reassembly with video timestamps and verified tool list.
September is Build Month. It’s about building independence with one mission you can’t quit—a firearm project, a training habit, a side hustle, or personal discipline. No more excuses. Pick your build, finish it, and prove you’re not owned by comfort.
Join The Rogue Nation!
Stay in the Loop with Real-World Gun Maintenance
No spam. Just proven firearm maintenance tips, gear reviews, and DIY builds, straight from a former gunsmith and 2A educator.
You’ll get:
DIY gunsmithing insights backed by experience
Behind-the-scenes builds from The Rogue Banshee
First access to new disassembly & troubleshooting guides
Follow for tools, tips, and teardown walk-throughs:
• Instagram – Behind-the-scenes shop content • Facebook – Community posts & guide drops • Twitter – Quick rants, 2A news, and hot takes • Website – Full archive of all TRB content
Credits:
Original Content by The Rogue Banshee / My Rogue Solutions LLC. Credit: Jason Schaller Email: jschaller@trb.fyi
About the Author: Jason Schaller is a former FFL holder and founder of Eagle Eye Shooters Supply in Helena, MT, where he provided professional gunsmithing services and guided customers on all aspects of firearms ownership. Today, he teaches DIY gunsmithing at The Rogue Banshee and serves as a Chief Instructor at Freedom Crew University. With over a decade of hands-on professional experience with firearms and nearly 30 years in IT, Jason also holds top cybersecurity certifications including CISSP, CISA, and CRISC. When he’s not geeking out, he’s helping others build self-reliance, critical thinking, and firearms proficiency through real-world content.
Disclaimers:
Content Use & Compliance
The videos, articles, and images shared by The Rogue Banshee feature gear, tools, and products for informational and entertainment purposes only. All activities follow local, state, and federal laws where they were conducted in. All activities are conducted safely under professional supervision in approved locations.
Affiliate Disclaimer
Some links are affiliate-based. No extra cost to you, but they help support the work we do her when you purchase though them. Best of all, you support the content you want to see, hear and read with nothing out of your pocket.
Firearm Safety Notice
I promote safe and responsible firearm ownership. All activities are conducted in a controlled, professional environment.