
This page may contain affiliate links. If you click and buy, I may earn a small commission at no extra cost to you. Your purchase using affiliate links helps support the creation of independent content.
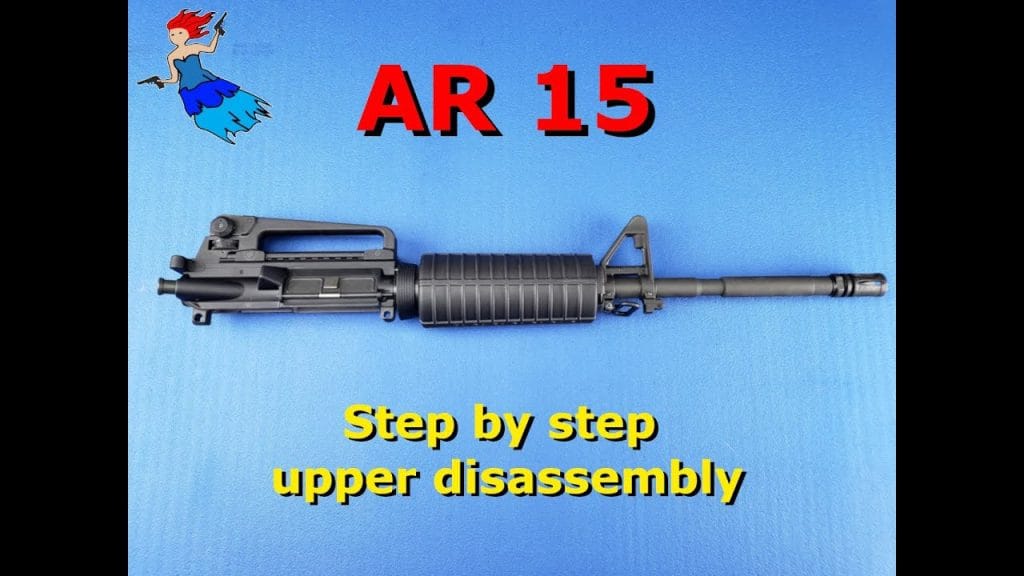
Lets look at how to disassemble an AR-15 upper! Breaking down your AR-15 upper doesn’t have to be a pain. Whether you’re doing a deep clean, prepping for upgrades, or just curious how it all fits together—this teardown guide walks through every part, tool, and trick to get it done right.
TL;DR
-
Fully teardown your AR-15 upper receiver without damaging parts
-
Includes barrel, front sight base, carry handle, ejection port cover, and forward assist
-
Clear timestamps from the video walk you through each step
-
Ideal for cleaning, inspection, upgrades, or Cerakote prep
-
Complements the AR-15 Upper Assembly Guide
Why Disassemble an AR-15 Upper?
Breaking down the upper receiver lets you deep clean, inspect parts for damage, and prepare for upgrades. If you’re changing barrels, doing a paint job, or replacing a forward assist, this is where it starts.
What Tools Do You Need to Disassemble an AR-15 Upper?
-
Bench vise with upper receiver block
-
AR-15 armorer’s wrench
-
Cup tip and roll pin punches (1/16″, 3/32″, 5/64″)
-
Snap ring pliers
-
Pick tool
Optional:
-
Real Avid Armorer’s Master Kit (covers most of the above)
How Do You Take Apart an AR-15 Upper Receiver?
Step 1 – Remove the Handguards
Video Timestamp: 0:02
-
If using drop-in clamshell handguards, pull back the delta ring and pop out each half.
-
Free-float handguards vary by design—some require hex keys or barrel nut removal.
Step 2 – Separate the Upper from the Lower
Video Timestamp: 0:55
-
Push the front and rear takedown pins from left to right.
-
Pull the upper receiver off the lower and set aside the lower.
Step 3 – Remove the Carry Handle (if equipped)
Video Timestamp: 1:47
-
Loosen the two thumb nuts on the side.
-
Lift the carry handle off the upper.
Step 4 – Remove the Front Sight Base and Gas Tube
Video Timestamps: 2:14–4:14
-
Use a cup tip punch to drive out the two taper pins (left to right).
-
Use a 5/64″ punch to remove the gas tube roll pin.
-
Pull the FSB off the barrel, then remove the gas tube.
Step 5 – Remove the Handguard Cap
Video Timestamp: 4:31
-
Slide the cap off the barrel.
Step 6 – Remove the Barrel and Barrel Nut Assembly
Video Timestamps: 4:43–5:45
-
Mount the upper in a vise using a receiver block.
-
Use an armorer’s wrench to remove the barrel nut.
-
Pull the barrel forward out of the upper.
Step 7 – Disassemble the Barrel Nut Assembly
Video Timestamps: 6:00–6:36
-
Use snap ring pliers to remove the retaining ring.
-
Pull off the spring and slip ring.
Step 8 – Remove the Ejection Port Cover
Video Timestamps: 6:47–7:25
-
Push the retaining pin forward while holding tension on the spring.
-
Remove the cover and spring from the receiver.
Step 9 – Remove the Forward Assist Assembly
Video Timestamps: 7:33–8:20
-
Use a 3/32″ roll pin punch to drive out the pin.
-
Gently ease out the forward assist and spring.
Step 10 – Disassemble the Forward Assist (Optional)
Video Timestamps: 8:25–9:40
-
Use a 1/16″ punch to drive out the pawl pin.
-
Remove the pawl, detent, and spring using a pick tool.
What Should You Check During Disassembly?
-
Carbon or fouling around the barrel extension
-
Roll pins, detents, and springs for wear or damage
-
Gas tube for blockage or corrosion
-
Ejection port cover spring alignment
-
Cracks in the forward assist or its bore
How to Prep for Cleaning or Reassembly
-
Lay parts out on a labeled mat or tray
-
Keep pins and springs grouped
-
Use cleaning brushes and solvent to scrub carbon
-
Snap reference photos during disassembly if needed
-
Lightly oil moving parts before reinstalling
When I first started working on AR-15s in the 90’s I thought they were going to be complicated. When you start working on them you find out how easy it is to build and maintain them.
Jason Schaller
Wrap-Up
Disassembling an AR-15 upper might look intimidating, but with the right tools and a clear walkthrough, it’s a straightforward job. Whether you’re chasing cleaner cycles, planning a new build, or just getting to know your rifle inside and out—this teardown gives you the confidence to make every shot count.
Don’t forget to check out the AR-15 Upper Assembly Guide to put it all back together right.
The Real Avid Armorer’s Master Kit, came out way after I filmed this video. That is my go to kit when working on AR’s these days
• How to Field Strip an AR-15 or AR-10 – Step-by-Step Breakdown
• Disassemble an AR-15 Upper – Step-by-Step Breakdown
• How to Disassemble an AR-15 Lower – Step-by-Step
• How to Assemble an AR-15 Lower – Step-by-Step
• How to Build an AR-15 Upper – Step-by-Step Guide
Covers field stripping, upper teardown, lower teardown, lower assembly, and full upper builds—everything needed to break down and rebuild your rifle the right way.
Join The Rogue Nation!
Stay in the Loop with Real-World Gun Maintenance
No spam. Just proven firearm maintenance tips, gear reviews, and DIY builds, straight from a former gunsmith and 2A educator.
You’ll get:
DIY gunsmithing insights backed by experience
Behind-the-scenes builds from The Rogue Banshee
First access to new disassembly & troubleshooting guides
Tools and fixes that actually work
Support & Resources:
Love what I do here? Here’s how to support the mission and gear up::
• Shop Tools & Parts: trb.fyi/az
• TRB Merch: trb.fyi/merch
• YouTube Members Perks: trb.fyi/ytmembers
• All Resources in One Place: link.trb.fyi
Credits and Socials:
Connect with Me:
Follow for tools, tips, and teardown walk-throughs:
• Instagram – Behind-the-scenes shop content
• Facebook – Community posts & guide drops
• Twitter – Quick rants, 2A news, and hot takes
• Website – Full archive of all TRB content
Credits:
Original Content by The Rogue Banshee / My Rogue Solutions LLC.
Credit: Jason Schaller
Email: jschaller@trb.fyi
About the Author: Jason Schaller is a former FFL holder and founder of Eagle Eye Shooters Supply in Helena, MT, where he provided professional gunsmithing services and guided customers on all aspects of firearms ownership. Today, he teaches DIY gunsmithing at The Rogue Banshee and serves as a Chief Instructor at Freedom Crew University. With over a decade of hands-on professional experience with firearms and nearly 30 years in IT, Jason also holds top cybersecurity certifications including CISSP, CISA, and CRISC. When he’s not geeking out, he’s helping others build self-reliance, critical thinking, and firearms proficiency through real-world content.
Disclaimers:
Content Use & Compliance
The videos, articles, and images shared by The Rogue Banshee feature gear, tools, and products for informational and entertainment purposes only. All activities follow local, state, and federal laws where they were conducted in. All activities are conducted safely under professional supervision in approved locations.
Affiliate Disclaimer
Some links are affiliate-based. No extra cost to you, but they help support the work we do her when you purchase though them. Best of all, you support the content you want to see, hear and read with nothing out of your pocket.
Firearm Safety Notice
I promote safe and responsible firearm ownership. All activities are conducted in a controlled, professional environment.