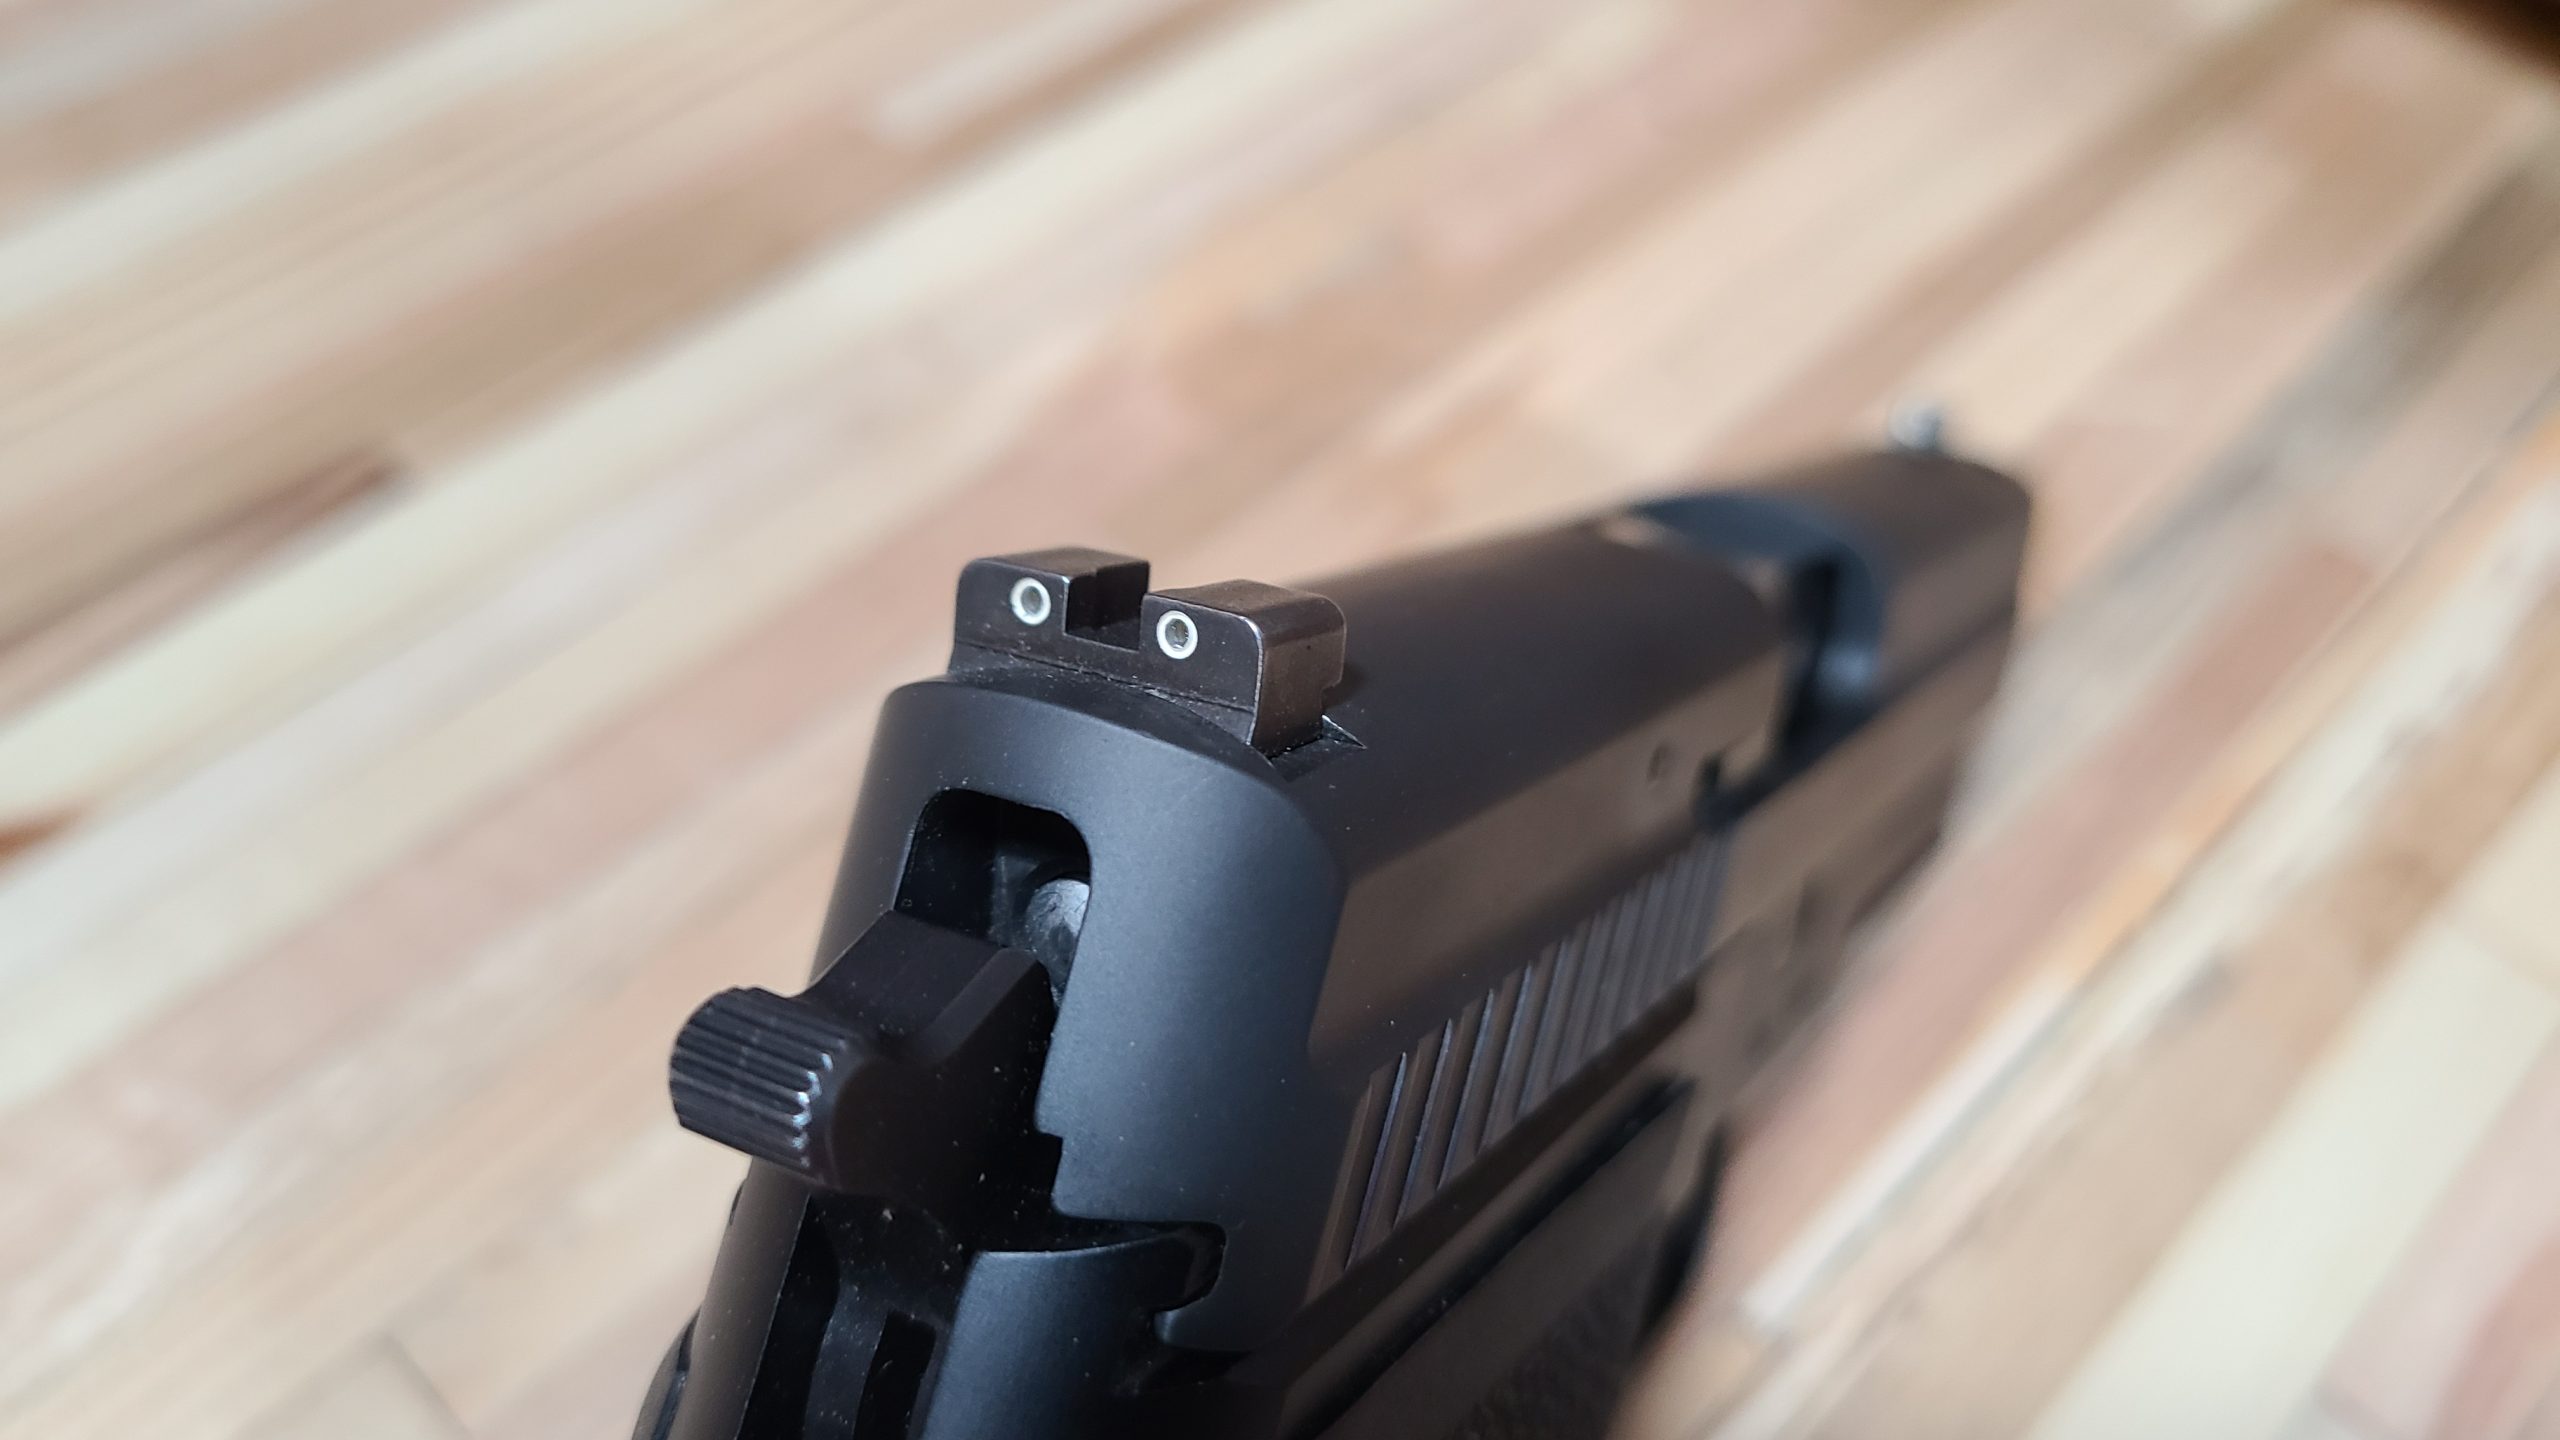

Adjusting the Point of Impact on Your SIG Sauer Pistol: A Technical Guide to Changing Sights
When precision matters, adjusting the point of impact (POI) on your SIG Sauer pistol can make all the difference. This can be crucial for both competitive shooters and those who rely on their SIG for personal defense. Below is a technical guide on how to adjust your SIG Sauer’s POI by changing the sight heights, ensuring your rounds hit exactly where you aim.
Understanding the Basics
Firstly, it’s important to comprehend how the SIG Sauer sight system works. SIG Sauer uses numbered sights, with the front and rear sights having different impacts on the POI:
- Front Sight: The higher the number, the shorter the sight. Increasing the number (thus lowering the sight) will raise the POI.
- Rear Sight: Conversely, as the number on the rear sight increases, so does the height. Increasing the number will lower the POI.
Impact of Sight Number Changes on POI
Here’s a detailed table showing how changing the sight numbers affects your POI at 25 yards:
| Sight Location | Sight Number Change | Impact on POI | Description |
|---|---|---|---|
| Front Sight | Increase (+1) | Raise 1 inch | A higher number (shorter sight) raises the barrel, lifting the POI. |
| Front Sight | Decrease (-1) | Lower 1 inch | A lower number (taller sight) lowers the barrel, dropping the POI. |
| Rear Sight | Increase (+1) | Lower 2 inches | A higher number (taller sight) tilts the barrel down, lowering the POI. |
| Rear Sight | Decrease (-1) | Raise 2 inches | A lower number (shorter sight) tilts the barrel up, raising the POI. |
How to Determine Which Sight to Change
- Measure Your Current POI Deviation: At a standard range of 25 yards, shoot a group to establish where your current setup hits relative to your aim point.
- Decide on the Adjustment:
- If the shots land high, consider raising the front sight number (to lower the front sight) or lowering the rear sight number (to lower the rear sight).
- If the shots land low, you’ll want to do the opposite: lower the front sight number (to raise the front sight) or raise the rear sight number (to raise the rear sight).
- Calculate the Sight Change Needed: Use the table above to calculate the exact change needed based on how off your POI is from your point of aim.
Installation and Testing
- Installing New Sights: Changing sights might require specific tools like a sight pusher. If you’re not comfortable performing this task, it might be wise to have a professional gunsmith do it to avoid damaging your firearm.
- Testing: After changing sights, test fire the pistol again to verify that the adjustments have resulted in the desired POI. It’s common to require a few iterations to get it perfectly dialed in.
Technical Tips
- Consistency is Key: When testing, ensure consistent shooting conditions to accurately gauge the impact of sight changes.
- Record Keeping: Keep a log of the changes made, conditions, and outcomes. This record can be invaluable for future adjustments or troubleshooting.
- Consider Professional Help: If the adjustments seem daunting or if the POI is still off after several attempts, consulting with a professional might provide new insights or solutions.
By following this technical approach, you can finely tune your SIG Sauer pistol to ensure that it hits exactly where you aim, thereby enhancing your shooting accuracy and confidence. Remember, the precision of your firearm is not just about the tool itself but how well it’s calibrated to work with you as the shooter.
Disclaimer:
The content provided by The Rogue Banshee, including but not limited to videos, articles, and images, is intended for informational and entertainment purposes only. All demonstrations and explanations are conducted legally within full compliance with local, state, and federal regulations and are executed in safe environments under professional supervision. The tools, gear, and products featured, used, or discussed are presented for informational purposes only.
The Rogue Banshee is not responsible for any actions taken by individuals as a result of viewing or reading the content. Viewers and readers are encouraged to conduct their own research and act within the legal boundaries and safety guidelines of their respective locations.
Affiliate Disclaimer:
The Rogue Banshee participates in various affiliate marketing programs, which means we may get paid commissions on products purchased through our links to retailer sites. This is in accordance with FTC guidelines.