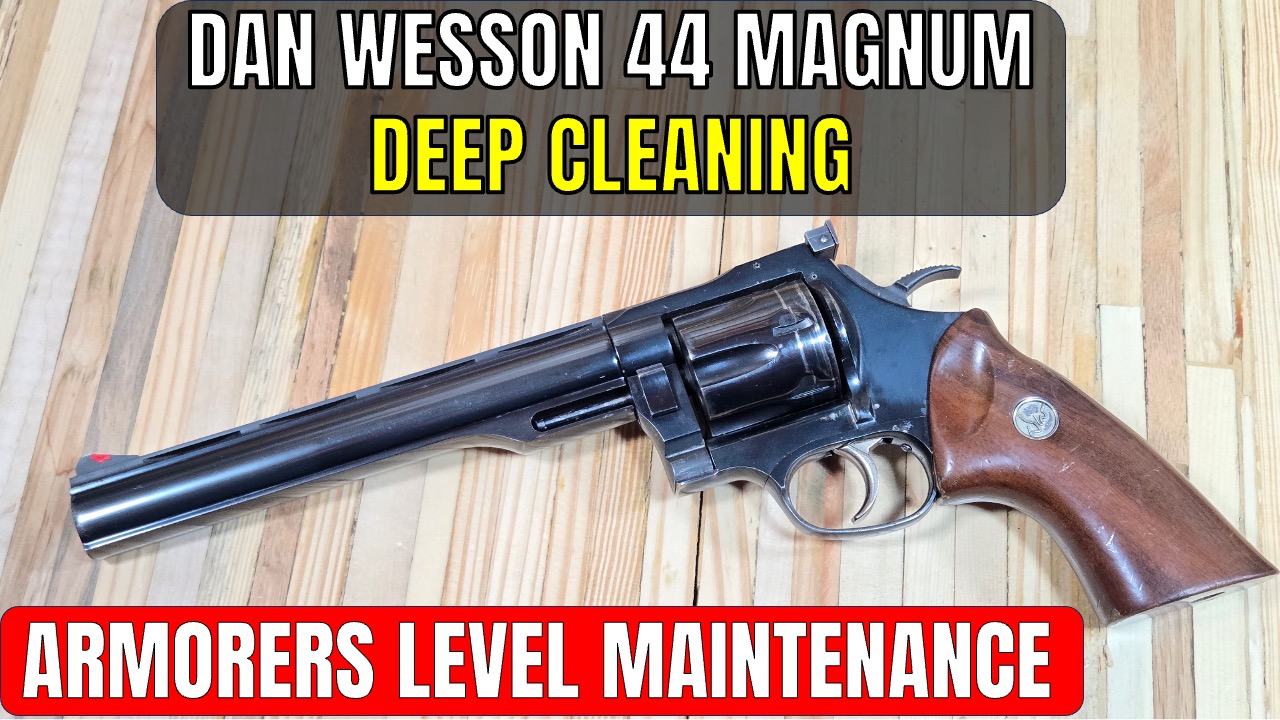
I’ve stared at revolvers in the safe and wondered whether the rust under the grip is cosmetic or a warning. You’ve probably done the same. That hesitation is what deferred maintenance feels like before you even touch a wrench. I picked this one out of a Montana estate sale-the same sale that produced the Glock 29 deep cleaning video a few months back-and it arrived with the kind of deferred maintenance that comes from hard backcountry carry. The barrel nut was damaged from prior pliers use, the bore had lead fouling, and the shroud wouldn’t budge. Every screw fought back. There’s something humbling about cleaning a gun that probably out-hunted you; this revolver likely saw more elk than I have. If you’ve got a large-frame wheelgun that’s been sitting long enough to grow its own ecosystem, this is the walkthrough I wish I’d had before I started.
Quick Answer
What follows covers complete disassembly, ultrasonic cleaning, and reassembly of a Dan Wesson large-frame revolver with a seized interchangeable barrel system. It’s for someone who’s already field-stripped a revolver and isn’t afraid of small parts on a white towel. If the barrel nut is seized, plan on a couple of days to let penetrating oil soak into the barrel junction before you start turning. Stop and call a gunsmith if the frame threads are damaged or you’re unsure about any wear.
What You’ll Need
I won’t pretend you can do this with a single screwdriver and hope. The Fix-It Sticks Glock and AR kits supplied most of the bits and punches, and the sizes matter: 0.050 Allen for the front sight and crane latch, 5/32 for the grip screw, 5/64 for the mainspring retaining screw, 3/32 for the trigger pivot, 9/64 brass punch for the hammer, 1/16 roll pin punch for the rear sight and firing pin, and 3/16 brass punch for the trigger guard latch. You’ll want an Otis cleaning cable with brushes and patches-the patches can be reused up to 6 times by shifting them to a fresh hole on the rod. Wear safety glasses; compressed springs on this revolver will launch if you let them. For lubrication and soaking, I used Eezox Gun Care. If the barrel nut is rounded off like mine was, add a 3/8-16 × 9 inch bolt, a washer, a trimmed copper washer, and electrical tape to build an internal barrel wrench. A 0.006 inch feeler gauge and a Dan Wesson barrel nut wrench are non-negotiable for reassembly.
Step-by-Step
Before touching a screw, open the cylinder and verify every chamber is empty – look, then feel with a finger. Remove all ammo from the bench. The first thing I do on any estate gun is look down the bore. This one showed lead fouling, but no cracks or pitting that would make it a wall hanger. That’s your go/no-go checkpoint. While you have the bore light in, check the forcing cone for heavy leading or erosion – either one means this barrel needs more than just cleaning. If the bore is structural, stop. If it’s just dirty, run an Otis brush through 10 to 15 passes, then patch until they come out grey instead of black.
Pre-Flight Checks
The barrel nut was the real problem. Someone had rounded the castle grooves almost smooth, so normal removal was impossible. I built the internal tool from a 3/8-16 × 9 inch bolt, double-nutted the rear, padded the head with a trimmed copper washer, and wrapped the shank in electrical tape so it wouldn’t chew the bore. If you use electrical tape, make sure no adhesive residue transfers to the bore – Teflon or plumber’s tape is a cleaner alternative. I fed Eezox into the barrel/frame junction from the chamber side and let it soak for a couple of days. When I came back, I applied controlled heat to the frame-not the barrel-to expand the frame threads. The shroud was still stuck, so I used light tapping to free it, then turned the barrel out from inside the shroud using a wrench on the bolt head. The old barrel nut broke in half when I tried to remove it with pliers later. Thread debris came out with a brass pick – use brass or nylon, not hardened steel, to avoid damaging thread geometry. I ran the barrel and shroud through an ultrasonic cleaner to strip the carbon. Use a firearms-specific ultrasonic solution and avoid ammonia-based or highly alkaline solvents on blued steel; they can strip finish or cause etching.
Barrel and Shroud Removal
The front sight came off easier than I expected, which made me suspicious. A 0.050 Allen bit loosened the screw. I rocked the sight rearward and lifted it out. Rust underneath explained the rough sight picture. The rear sight needed a 1/16 roll pin punch to drive the roll pin above the cylinder. Wear eye protection – the springs underneath will try to launch the detent if you slip. I held the sight down; springs underneath will try to launch it across the room. The flathead elevation screw came out next, then the blade with another 0.050 bit. Surface rust and packed debris covered the underside.
Sight Removal
I pulled the grip next. The 5/32 bit encountered moderate rust on the screw head, but it broke free without drama and the grip slid off the tang. To capture the mainspring, I removed the 5/64 retaining screw, cocked the hammer, and threaded that same screw into the mainspring guide to hold the spring back. Wear eye protection – the mainspring is under significant tension. Simple trick, but if you skip it, the spring will launch across the bench and you’ll spend twenty minutes on your hands and knees.
Grip and Hammer Removal
The hammer pivot pin took a 9/64 brass punch while I held the trigger back. I rocked the hammer out, then disassembled it: drove the strut pivot pin with a 1/16 punch, removed the strut, plunger, and spring. Reassembly is the reverse, but you have to control the trigger position while seating the hammer or the geometry won’t line up, and you’ll swear the pin is bent when it isn’t.
Trigger and Crane Removal
Trigger guard removal taught me to respect the latch. I depressed it with a 3/16 brass punch and rocked the guard forward. The hand, connector, and spring are loose immediately – don’t let them drop onto concrete. I drove the trigger pivot with a 3/32 punch. When I reinstall the trigger guard, I use a rubber band to hold the hand and connector in place until the guard locks. Looks ridiculous, but works better than three hands.
Frame Internals
The crane and cylinder took patience. I removed the crane lock, unscrewed the ejector rod – left-hand threaded, so turn it clockwise to loosen. Turn it the wrong way and you risk snapping the rod or damaging the crane threads. I lifted the extractor and pulled the crane. The bolt plunger and spring came out, then I separated the cylinder from the crane. The ejector rod bushing and spring can be assembled either way, but the bushing side must go into the crane first. Reverse it and the ejector will stick open. The crane latch retaining screw is another 0.050 bit; I removed the latch and spring and set them in a parts tray so they couldn’t roll.
Cleaning and Degreasing
Frame internals are where you earn your patience. Wear eye protection while working with small springs and detents. The cylinder alignment ball comes out as a set: ball, spring, screw. The firing pin requires the cylinder to be open. I drove the retaining pin with a 1/16 punch, then drove the firing pin out from the rear with a 9/64 punch and removed the bushing. Finally, I removed the mainspring retaining screw with a 5/64 bit, controlled the guide with pliers, and lifted the spring out carefully.
Reassembly and Barrel Gap
I put the barrel, shroud, sights, and small parts through an ultrasonic bath. Saves significant hand-scrubbing time on a gun this dirty, but you must dry every hole and channel immediately. Any trapped solution will find a way to rust overnight. After drying, I protected everything with Aegis Gun Care.
Reassembly follows the reverse order. Frame internals first: alignment ball, firing pin, mainspring. Then crane and cylinder, trigger group, hammer, sights, and grip. When you install the grip screw, dry fire the revolver while tightening. If the mainspring binds, you’ll feel it as a dead trigger; back the screw off slightly and try again. Check that the crane closes with no side-to-side wobble.
Setting the barrel gap is the moment of truth. I threaded the barrel almost to the cylinder, then slid a 0.006 inch feeler gauge between the barrel face and the cylinder. The shroud goes on so the roll pin in front of the frame mates with the hole in the back of the shroud with no gap at the frame joint. I installed the new barrel nut with the castle grooves forward. Do not cross-thread it. I snugged it with the Dan Wesson barrel nut wrench – not overly tight, just snug.
Final cleaning means brushing the bore 10 to 15 times, running wet patches until they come out clean, one wet lubricant patch through the bore, and a microfiber wipe on the exterior. Bore sight it before you go to the range; you’ll need to re-zero after this level of disassembly.
What to Watch For
Using heat on the frame expands the threads, but go too hot and you’ll damage the finish or warp thin sections. An ultrasonic cleaner strips carbon in places you can’t reach with a brush, but if you skip drying, rust forms in channels you can’t see. Tightening the grip screw too far binds the mainspring against the frame; too loose and the grip shifts under recoil. There’s no sweet spot you can feel with a torque wrench – you have to listen to the trigger reset while you tighten. Also, every screw on this revolver is small enough to vanish into carpet. Work over a towel.
FAQ
Below are the questions I get asked most often about deep cleaning a Dan Wesson revolver.
When to Do This
I won’t claim this is the only way. I can only tell you what worked on a revolver that had seen harsh Montana backcountry carry and deferred maintenance. If you’re comfortable with roll pins, spring tension, and thread geometry, this project leaves you with a gun you actually trust. This isn’t for someone who has never field-stripped a revolver. If the frame threads are damaged, or you don’t own a set of brass punches yet, send it to a gunsmith. Some damage requires a trained eye, not a can of Eezox and optimism.
What to Buy
– Fix-It Sticks kits and punches: trb.fyi/fis
– Otis rods, brushes, patches: trb.fyi/otis
– Aegis Gun Care: trb.fyi/aegis
